How to create a network with router in Horizon Dashboard on 3Engines Cloud🔗
When you create a new project in Horizon, its content is empty. You have to manually configure your private network. In order to complete this task, please follow those steps.
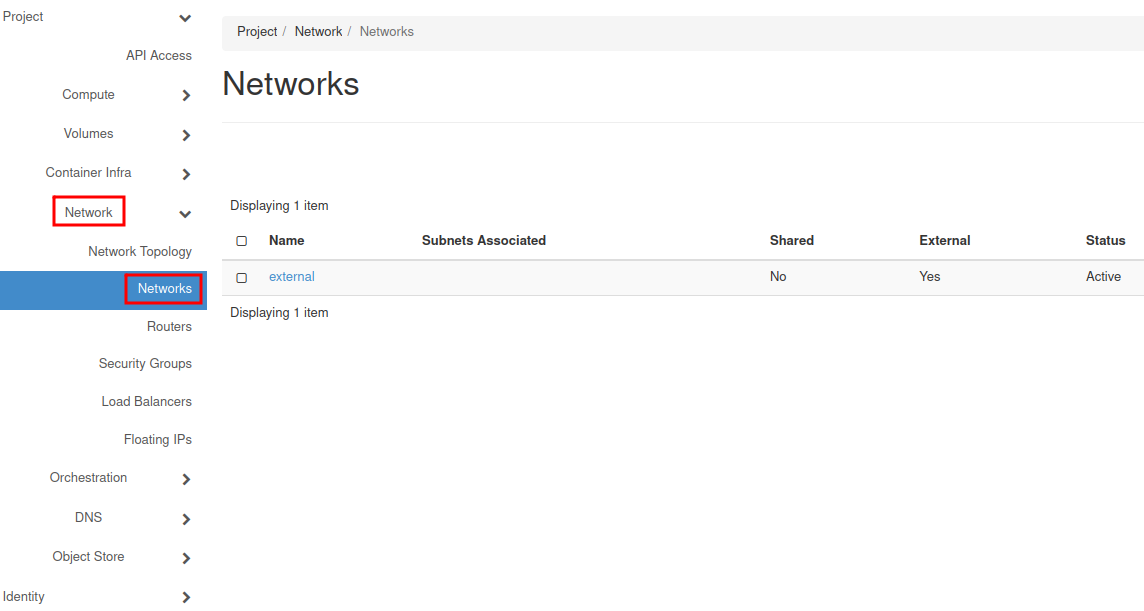
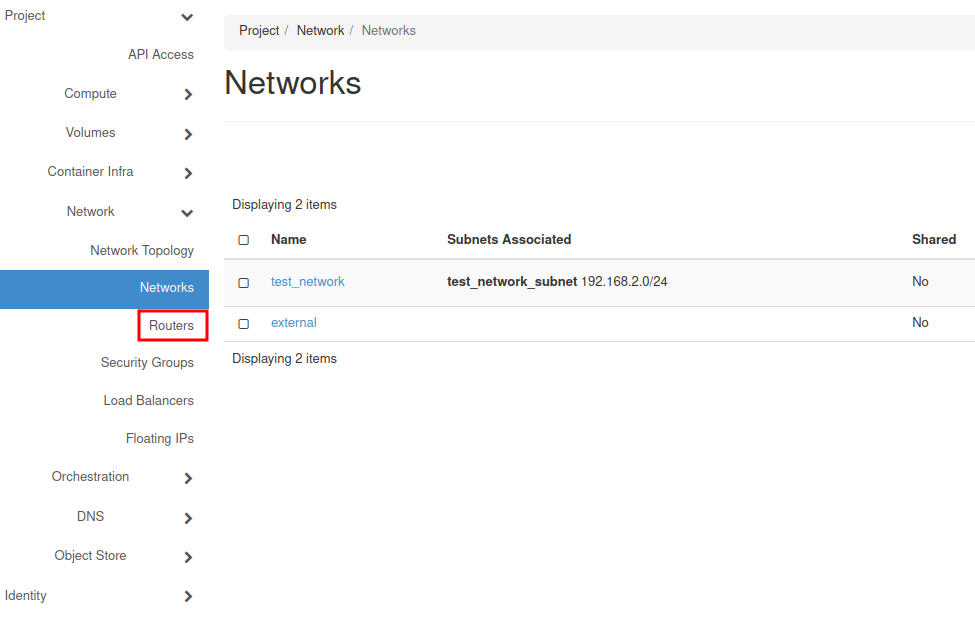
- Log in to your 3Engines dashboard and choose Network tab, then choose Networks sub-label.
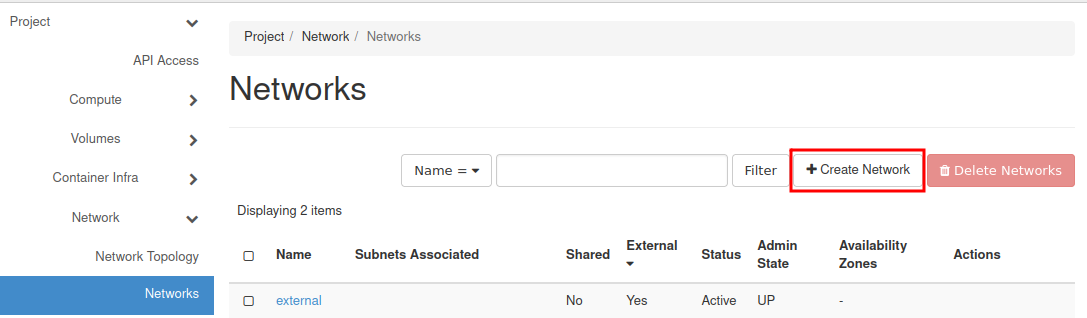
- Click on the “Create Network” button.
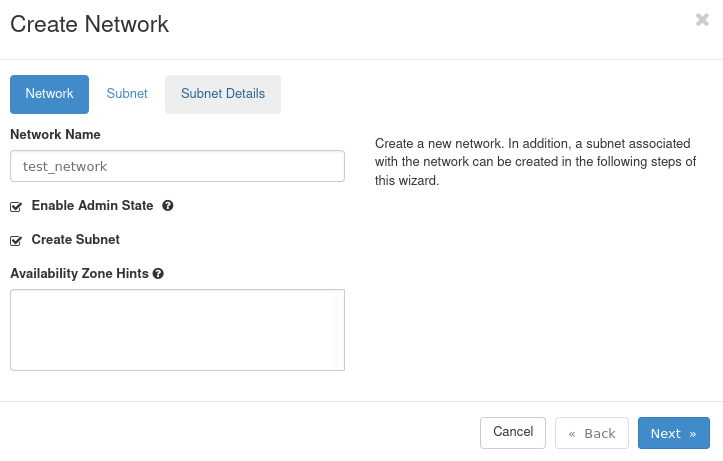
- Define your Network Name and tick two checkboxes: Enable Admin State and Create Subnet. Go to Next.
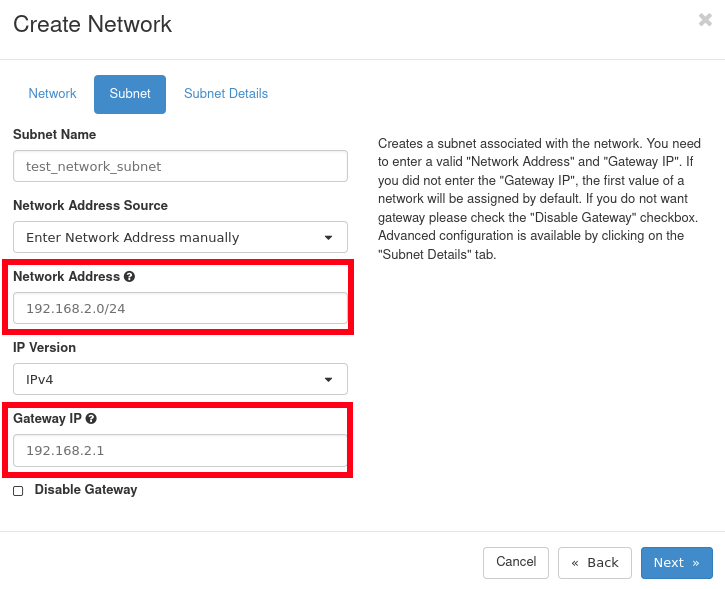
- Define your Subnet name. Assign a valid network address with mask presented as a prefix. (This number determines how many bytes are being destined for network address)
Define Gateway IP for your Router. Normally it’s the first available address in the subnet.
Go to Next.
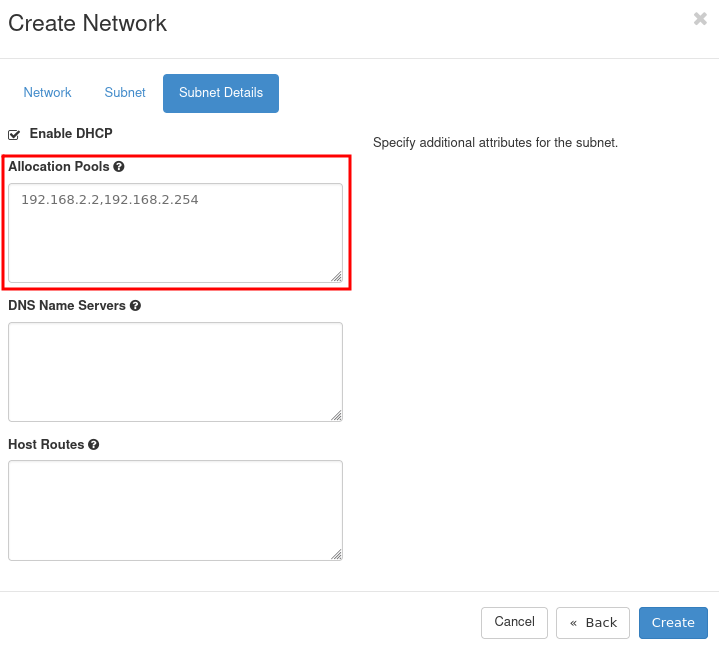
- In Subnet Details you are able to turn on DHCP server, assign DNS servers to your network and set up basic routing. In the end, confirm the process with “Create” button.
- Click on the Routers tab.
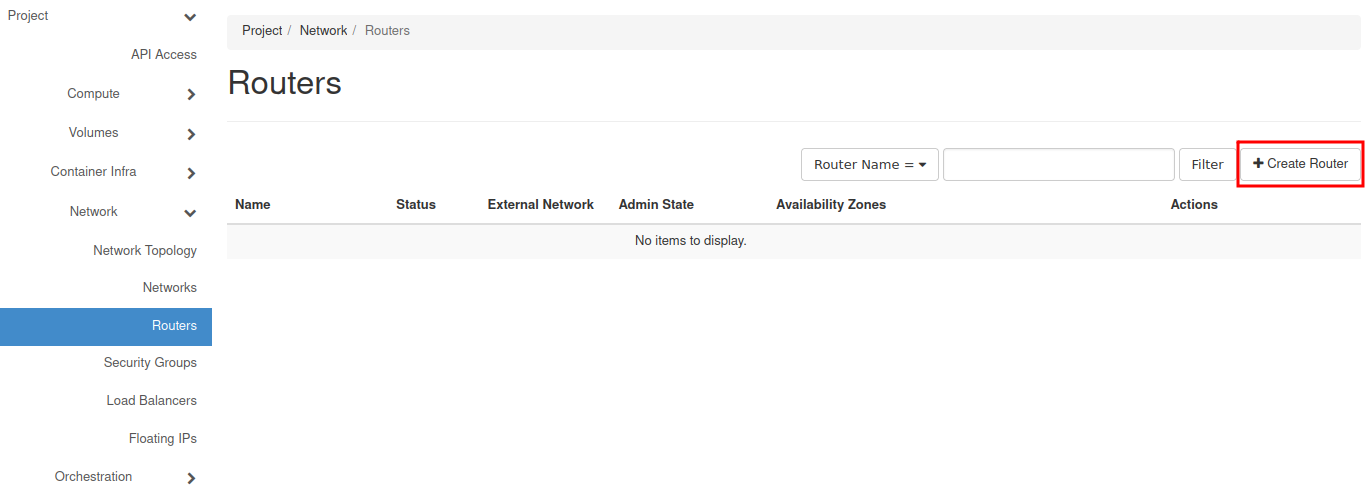
- Click on the “Create Router” button.
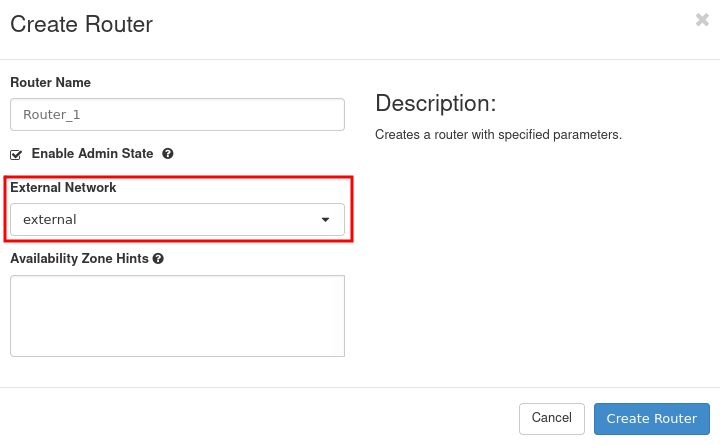
- Name your device and assign the only available network → external. Finish by choosing “Create Router” blue button.
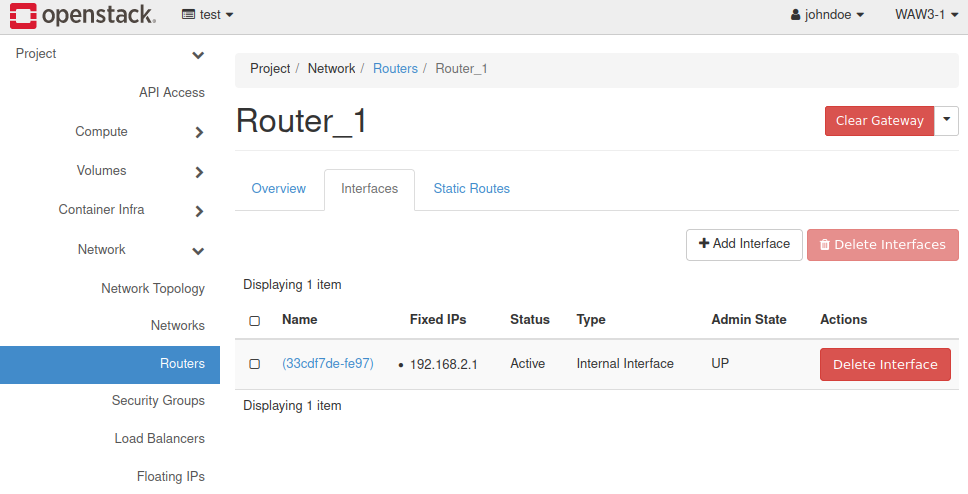
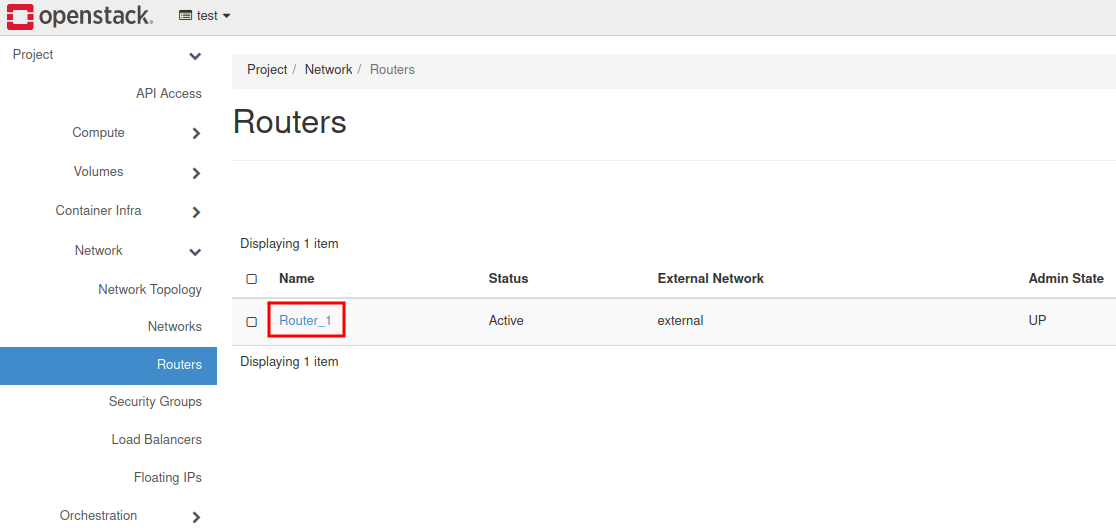
- Click on your newly created Router (e.g called “Router_1”).
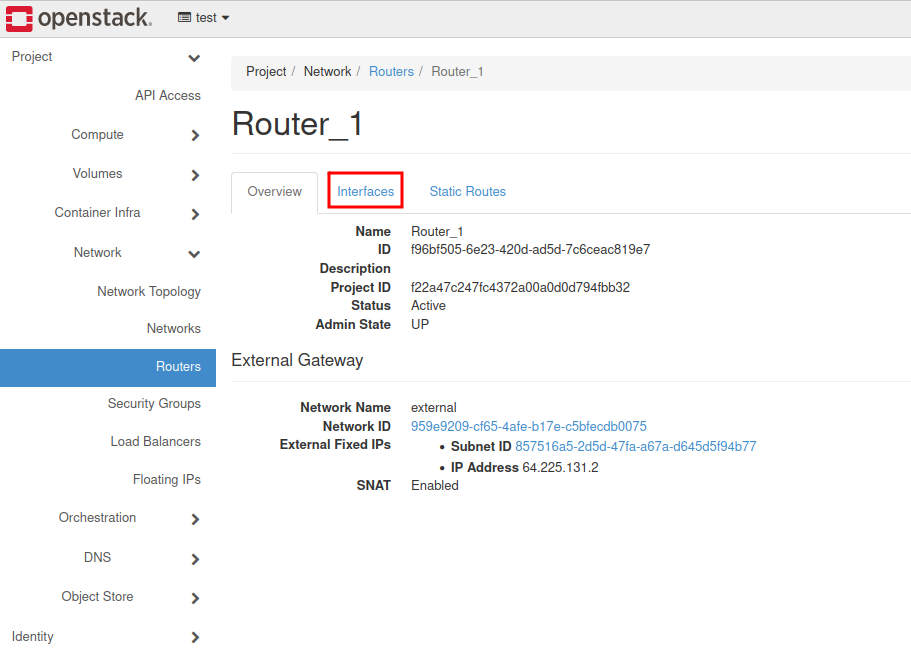
- Choose Interfaces.
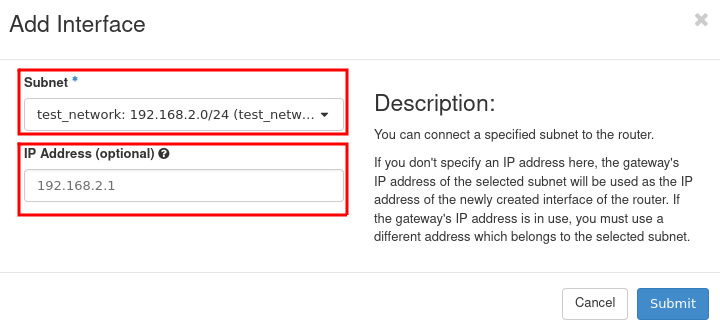
- Choose + Add Interface button.

- Assign a proper subnet and fill in IP Address. (It’s the gateway for our network). Submit the process.
- The internal interface has been attached to the router.